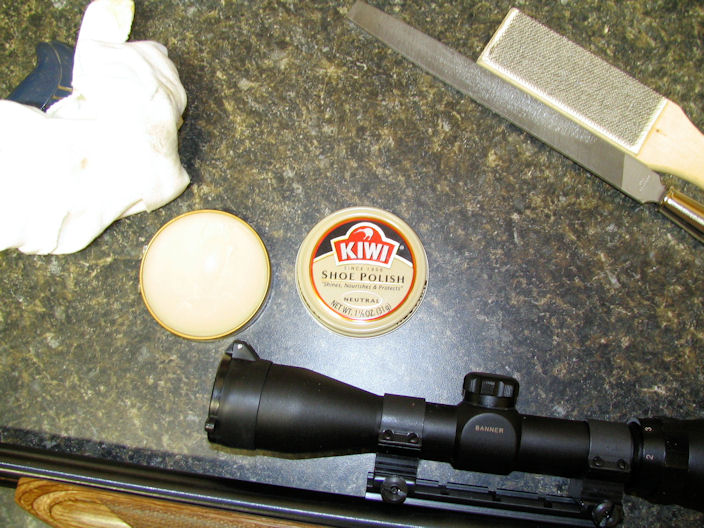
This project is not real complicated. I do not have a lathe or a mill. I do have an old drill press, but you can do this with a drill mounted or strapped down. Tools needed is a file, hack saw and drill press or mounted hand drill. Parts needed: Boyd's pillars (part # 100-512), 1/4" ID washer (either plastic or steel.), shoe polish, JB Weld ( the regular slow set), generous amount of Q-tips and a 1/4" X 3/4" button head screw. The screw must not bottom out in the barrel lug. You can trim back the screw as needed. I have found that once I have the project completed, I have been able to use a 5/8" screw. This can vary between fore ends lug lengths and how much protrusion you want below the fore end. Please read through this entire project before starting. If you have any questions or are unclear, I will try to answer your questions. I tried to make this clear with the pictures. It took a lot longer to do this than it actually takes to do the project. Not counting making the washer/spacer, it should take about 2 hours to do + curing time. After you have done it once or twice, you can cut this down to 1 hour. This trickiest part is making the pillar to the right length and squaring the ends. If your pillar is too short, you will not get the grip in the fore end you need and the fore end may pull off. If you get it too long it will stick out below the fore end and your washer/spacer will do no good. You will be doing all of this work with the barrel off of the frame, that is one reason it is important to use the spacer as to ensure the pillar is centered in the hole.
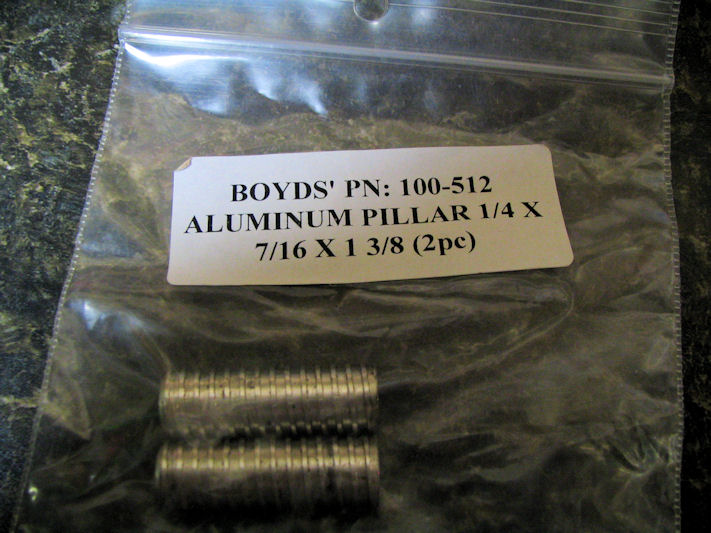
Order the Boyd's pillars - Call 605-996-5011 part number 100-512 (Aluminum Pillars)
Make your hole spacer (1/4" washer) while you wait for your order to arrive. This washer is used to center your pillar into the 1/2" hole you will drill into the stock. The spacer can be used over and over, for each new fore end. It's propose is to center the pillar in the hole + keep the JB Weld from running out of the hole until it sets.
I used a 1/4 stove bolt and two nuts to capture the washer and chuck into my drill press. After you have "turned" the OD to 1/2" deburr the washer. I used a flat stone and used it on both sides. We do not want the JB Weld to stick to any thing.
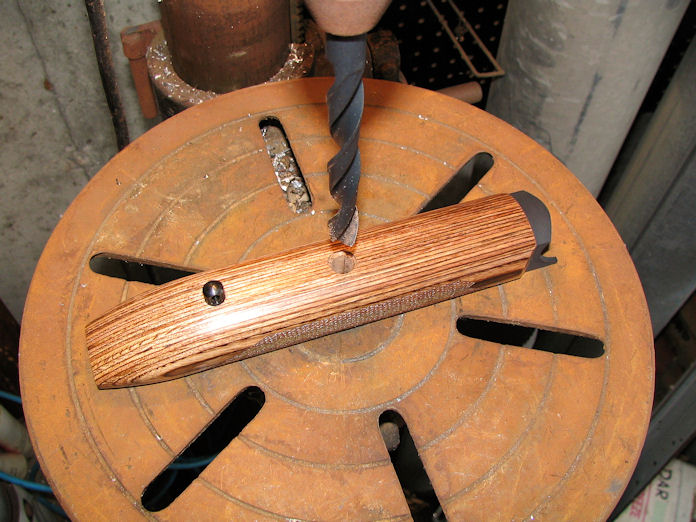
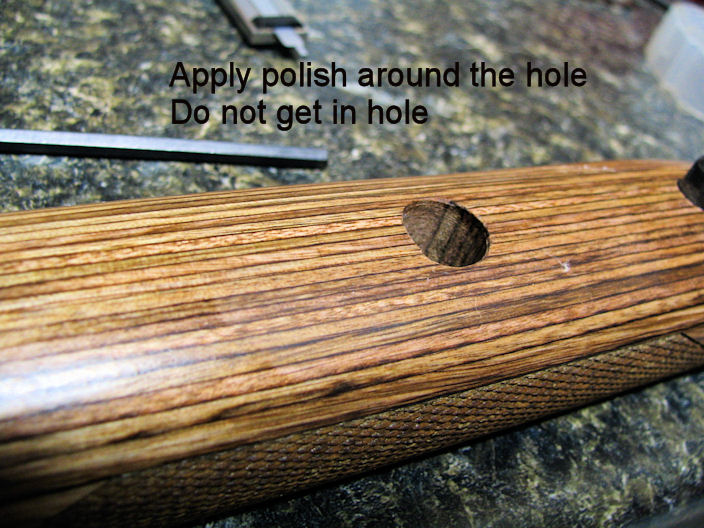
Drill a 1/2" hole through the fore end.
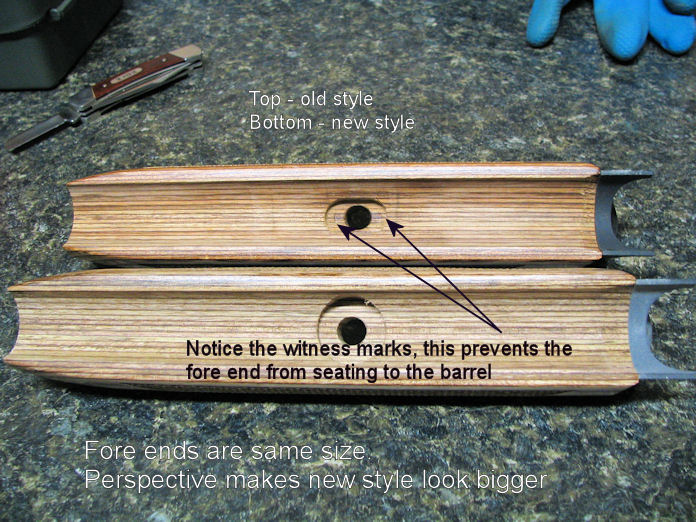
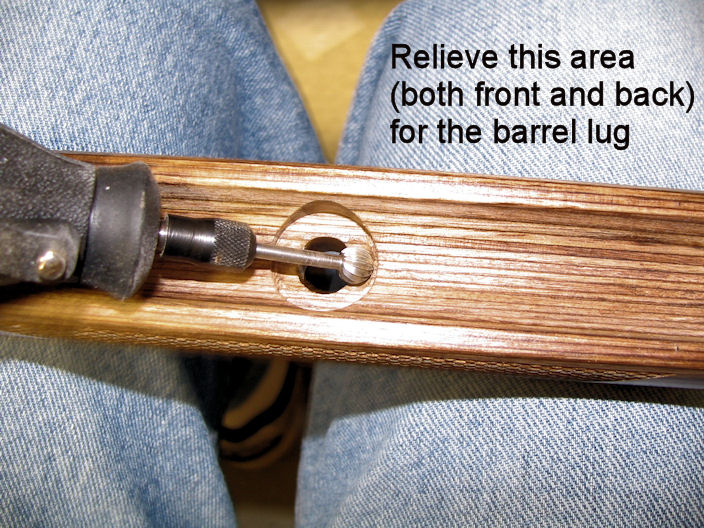
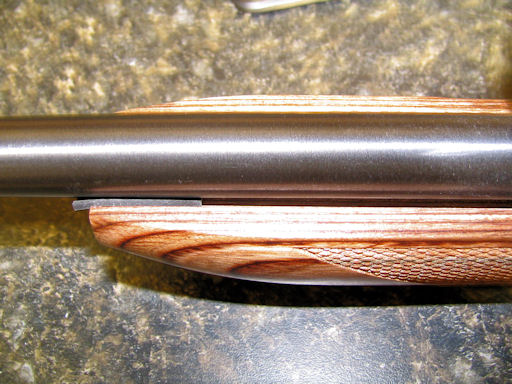
Check to see if the fore end fits the barrel, after drilling the 1/2" hole. When I say "fits", pay particular attention to the where the base of the barrel lug hits the fore end. I have found that on many fore ends, they will actually rock back and forth front to back on this lug. If this is the case, then the hole relieve for the lug is not deep enough. Relieve this area now. See picture.
I relieved this area with a Dremel tool, but you could use chisels too.
Keep checking to see if there is enough relief so that the fore end will not rock back and forth.
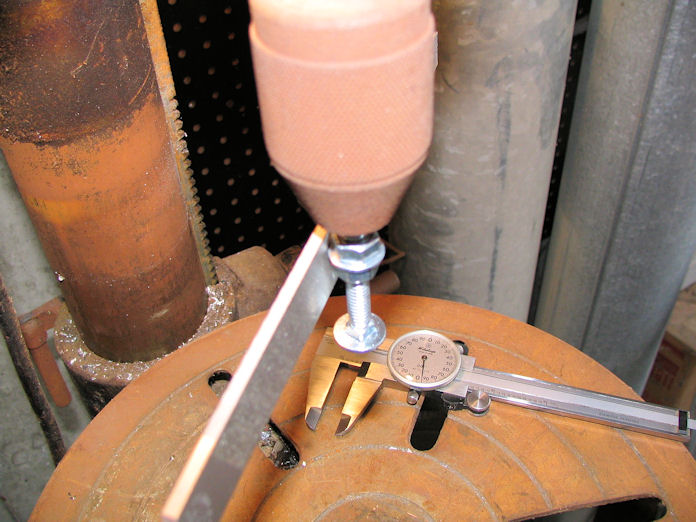
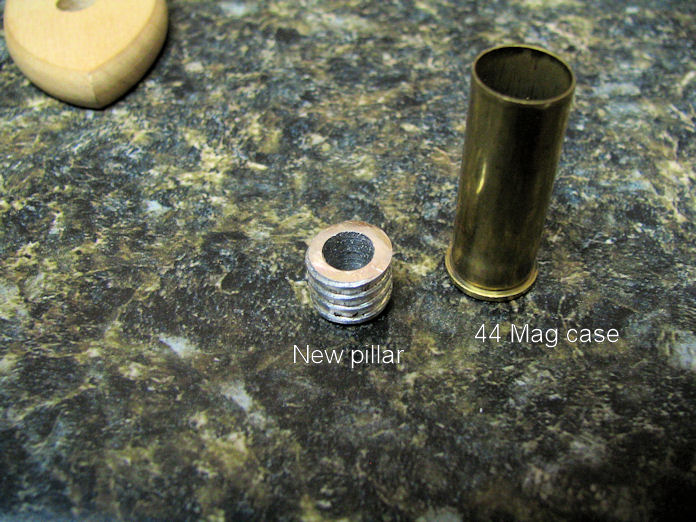
When the pillars arrive from Boyd's, you will notice that they are quite long. Long enough to make 3 - 4 pillars out of each one and there are 2 of them. That is enough to make 6 - 8 pillars. Cut them so that when finished they are .25 - .30 inches in length; depending on the depth of the hole. Measure the hole depth with any means you can. I used a caliper. If you do not have a means of measuring, make the pillar .25"
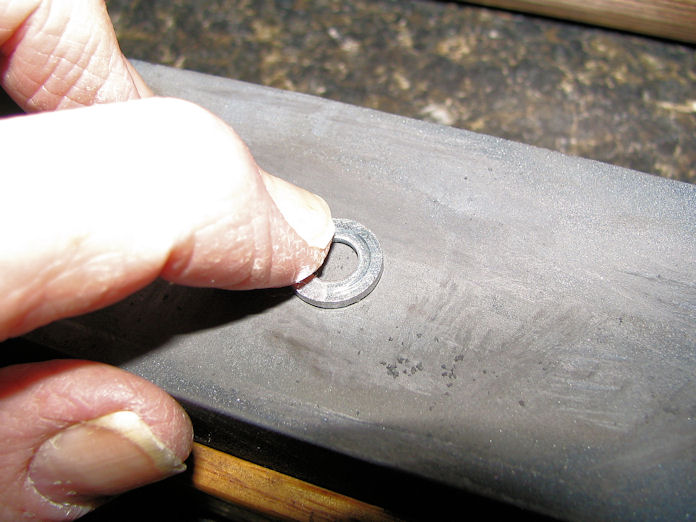
After cutting them, square the ends with a file so they are relatively flat and square. If you cut them with a hack saw, cut them a little long so you have a little extra length to file them square.
Here is a finished pillar
Put the button head screw through the pillar. It should poke through about 3/8" or so. Trim to this length or get a longer screw. I wish I could tell you exactly what length to get, but there are just too many variables here.
Now that the pillar is sized, we can prep the barrel and fore end for setting the pillar. I used shoe polish as a release agent. Wipe a good coating on the barrel lug, barrel in the general area, the pre made washer (spacer) on both sides, and the button head screw.
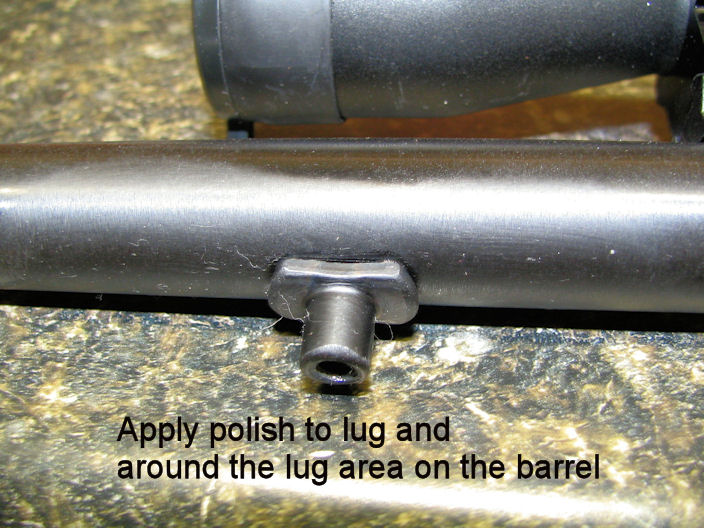
Maybe you can see where the shoe polish is put, it kind of dull where I applied the polish.
Attach the pillar and washer/spacer to the barrel lug with a button head screw. The spacer should be away from the barrel (not mounted on the frame) next to the button head screw. Slide the fore end over the screw. Check to make sure the washer/spacer fills the hole and is below the fore end. The purpose of the spacer is to center the pillar in the hole and prevent The JB weld from running out of the hole. If your spacer fits tightly, then attach it after you put on the fore end. If the washer/spacer does not fit below the surface of the fore end then you must shorten the pillar.
After you get it all fitted and every thing looks good; remove the fore end and the washer/spacer. Replace the pillar and button head screw on to the lug - no washer/spacer now. Recheck your parts to make sure you do not have to reapply any shoe polish.
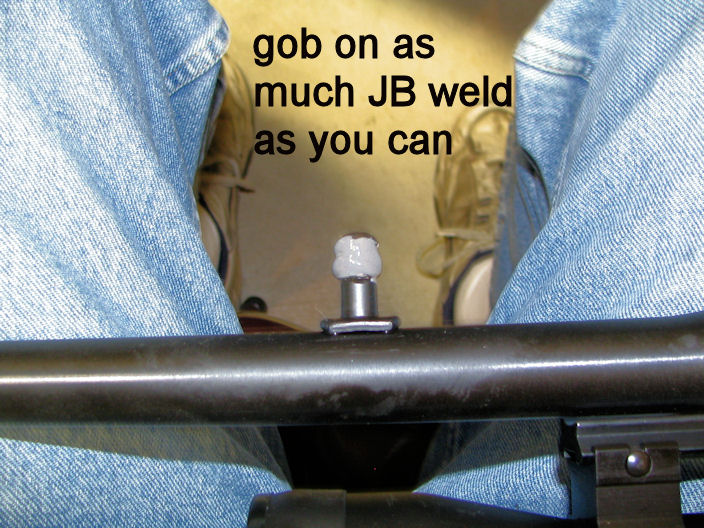
Prep the JB Weld according to instructions (mix equal amounts thoroughly); I use the regular because, it gives you longer to work with it. You should squeeze out about 1 and 1/2" of each of the JB weld side by side. Mix thoroughly. You should end up with a glob about 2" in diameter. This is plenty. If you find out you do not have enough, you have time to mix up more. Have plenty of Q-tips on hand. Apply as much as you can to the barrel lug.
Apply as much JB weld as you can to the inside of the fore end hole top to bottom. You will not need the JB weld in the part of the hole towards the barrel, but you will need the extra to make up for what is pushed out of the fore end hole when you slide the fore end over the pillar.
Now carefully slide the fore end over the pillar. You will push some of the JB weld out of the hole as you put the fore end over the pillar. After you get the fore end against the barrel, use a Q-tip and push as much of the JB weld as you can back into the gap between the pillar and the fore end hole. This is why you will need to apply a release agent to the for end and button head screw.
Now take the button head screw out and place the washer/spacer back on top of the pillar. Put the screw back in and snug down well. The washer/spacer should center the pillar into the hole. Clean up any JB weld on the fore end and Button head screw with Q-tips.

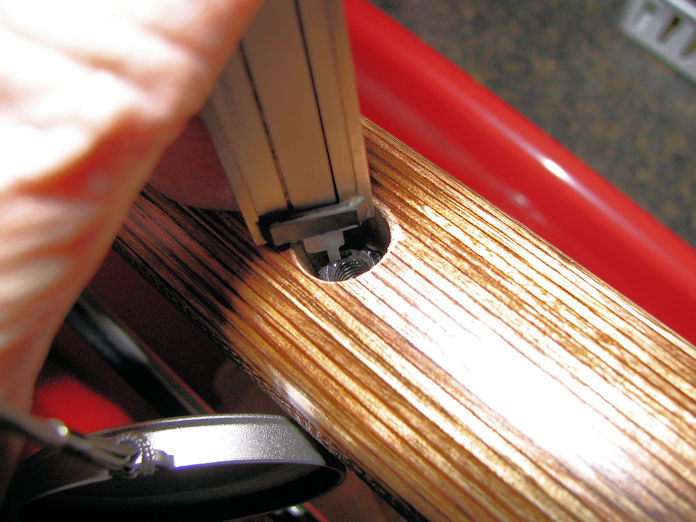
Put a rubber band between the screw and fore end spacer. Put on shelf and wait for the JB weld to set. I wait over night. The slow setting JB weld will run for an hour of so after applying. This is good so it will back fill the gap from the top of the hole that you did not need the JB when you applied it. The washer/spacer prevents the JB from running out the bottom. This is a picture of the 22 Hornet SL barrel, but the rubber band goes in the same place and placed on the shelf with the barrel lug down. If you set it on it's side the JB weld will run out. This also lets the weight of the barrel push down against the fore end, or spacer.
After setting, remove the button head screw and washer/spacer. Set aside the washer spacer for another project in the future. I labeled a bag and put in it there so I would not used it for some thing else later or worse lose it and have to make another. Pop the fore end off of the barrel. If you applied enough shoe polish in the right places, this should pop off easily. Remove the button head screw. I have just grabbed the fore end and barrel and pulled, it came right off; so did the washer/spacer. If the spacer sticks, get a 1/4" drill bit in the hole and pop out the spacer. Now you can see how every thing fits. Put the barrel on the frame, apply the fore end and put the button head screw back into place. I have done two of these so far and I have found that the fore end has a lot of push against the frame. You may have to adjust the fit by shimming the fore end spacer or shaving down the fore end under the spacer. I like some friction here, I think it aids the accuracy of the barrel.
444 Marlin barrel mounted on frame after pillar bedding
You can free float the fore end at this point. Just sand out the barrel channel to the desired depth. You will be free floated. If you want pressure on the barrel you can file down the bottom of the barrel lug a little so that when you tighten up the fore end screw, it puts more pressure on the barrel. If you have already free floated the barrel or you have a light weight barrel, shim the end of the fore end when fitting and measuring the pillar. See the picture below for a Super lite 22 Hornet that I have done. There are all kinds of combinations of shaving or adding shims that will effect the out come of your project, giving you the flexibility to do what you want experimenting wise.
Notice the shim in the front of the fore end. The back is supported by the fore end spacer. You can vary the spacer depending on how much gap you want. I have the 22 Hornet free floated, but will put spacers on the end to give it up pressure to tame the barrel vibrations.
Since I have dedicated fore ends for each barrel, I use a marker and label the inside of the fore end to which barrel they go to.

